crafts4 solomon
| I would like to share with you the workings of a light device that
I make and use for several different approaches of storytelling. If you are a "do-it-yourself" type this will be lots of fun. If not, find some one who
is and let them make this up for you.
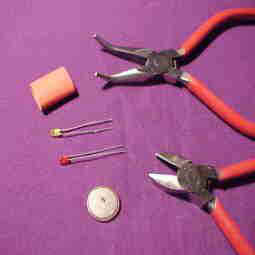
The heart of the device is a lithium battery. It is 3 volt and is made by the Swiss Company RENATA #CR1620.This battery is smaller than a dime and only about 1/8 inch thick. In addition you will need either a red or yellow L.E.D available from Radio Shack or your favorite electronic supply house and some 1/2-inch shrink tubing used to enclose a group of wires into a bundle. The tubing is cut into 1/2-inch lengths and the battery is slipped into the tubing and using a hair dryer, the tubing is heated and it really shrinks around the battery giving it a rubber-like coating. It comes in red or white for sure. I don't know about other colors.
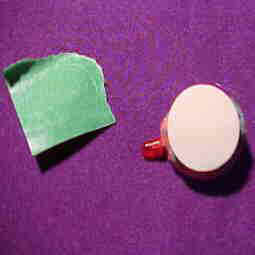
Shrink wrap, L.E.D. units, battery, self-adhesive dot and tools. 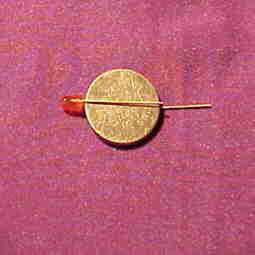
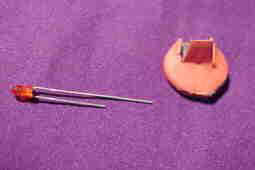
Check the polarity and trim lead to match the width of the battery. Remember which way round the leads are placed to work. Check the polarity of the battery by placing the L.E.D unit as shown in the picture. It won't light up if the polarity is not correct. 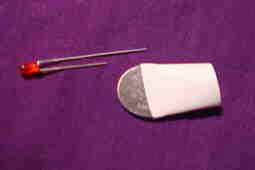
Battery goes into the tube and then the tube is heated.
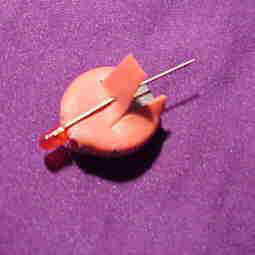
Two small cuts are made in the tubing to create a flap through which one lead for the L.E.D unit will pass............................................ The L.E.D unit is now almost ready. Insert the long lead through the flap and bend a small loop back toward the bulb (see pictures below). The springiness of the lead will keep it from making contact with the battery. The short lead is sitting on the surface of the battery and is encased in the shrink tube.
Make the L.E.D unit snug against the battery and then make the loop.
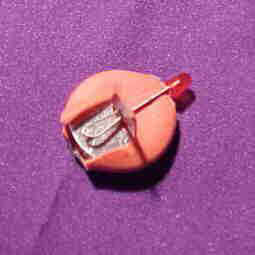
Loop goes under and the flap folded back down to cover the loop. By squeezing gently, contact is made and the bulb lights up. The L.E.D's show best when pointed directly forward. The small size of this setup allows the whole thing to be hidden between the ball of the thumb and the flesh of the tip of the index finger. Either a double stick dot like the one shown or a small bit of blue tack will make the unit adhere to the ball of the thumb. This allows the hand to be cupped slightly and shown empty with the unit sticking to the ball of the thumb. It takes very little effort to light the bulb and the bulb will remain lighted until the pressure is relieved.
Pull paper off of the dot when ready to stick it on the thumb. That is the whole process. It doesn't take much time and these are so very easy to work with. Enjoy. In the Craft, |
| All the material in this lecture is copyrighted with all rights reserved to Ed Solomon, 2002. |